
When you need a long time capture if the issue hard to replicate.
This guide introduces how to save the putty log as a local file.
Step 1. Login SSH followed by the following guide.
Step 2. Change Putty Settings
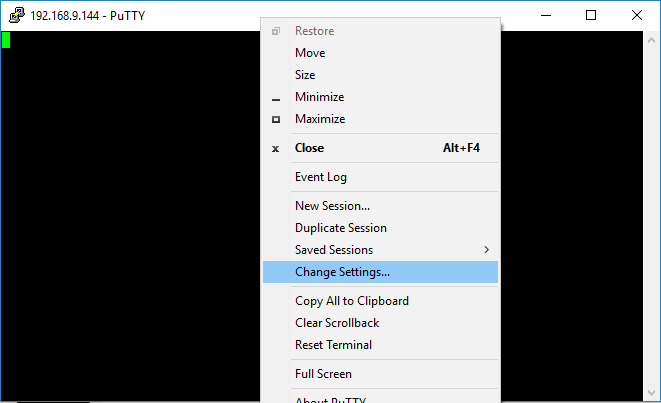
Right click PuTTY window, click “Change Settings…”.
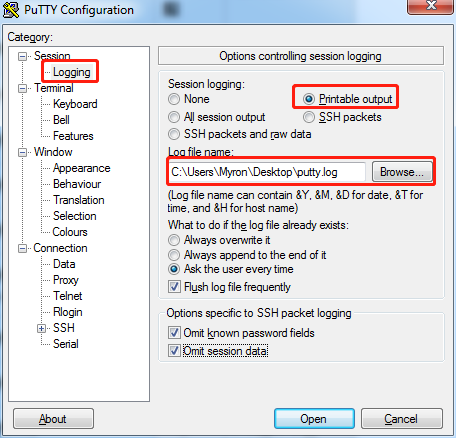
Change the “Session Logging”, choose the “Printable output” option. And save it to the location that you want.
Step 3. Enter asterisk CLI
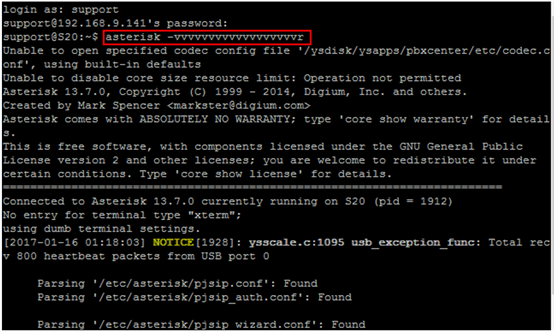
Execute command asterisk –vvvvvr to enter asterisk CLI.
Step 4. Enable the PJSIP debug
After entering asterisk CLI,
- For S-Series:
Execute command pjsip set logger host x.x.x.x to enable PJSIP debug for a specific IP address. (i.e. pjsip set logger host 192.168.9.141)
Note: x.x.x.x is the IP where the PJSIP packets are sent to or from.
Or you can execute command pjsip set logger on to capture all the SIP packets which are sent to or from S-Series PBX.
If you are not sure which command to use, please execute pjsip set logger on.
- For U-Series & Gateways:
Execute command sip set debug ip x.x.x.x to enable PJSIP debug for a specific IP address. (i.e. pjsip set logger host 192.168.9.141)
Note: x.x.x.x is the IP where the PJSIP packets are sent to or from.
Or you can execute command sip set debug on to capture all the SIP packets which are sent to or from U-Series PBX.
If you are not sure which command to use, please execute sip set debug on.
Step 5. Get the Log file
You can find the putty.log on the location which done on the Step 2.
0 Comments