
This article will introduce an approach to check or transfer the files via FTP Server for S-Series VOIP PBX.
Scope of application: S-Series VoIP PBX
1. Enable the FTP port
Login the Web GUI page, go to Settings > System > Security > Service, enable the FTP 21 port.
Note: after checking or transferring the files, do remember to disable this port.

Figure-1
2. Login the FTP Server
2.1 User can access the FTP Server through the Quick access on Local Computer. Enter the FTP Serve address, the allowed format: ftp://x.x.x.x/
Note: x.x.x.x means the IP address when you login the PBX Web GUI page
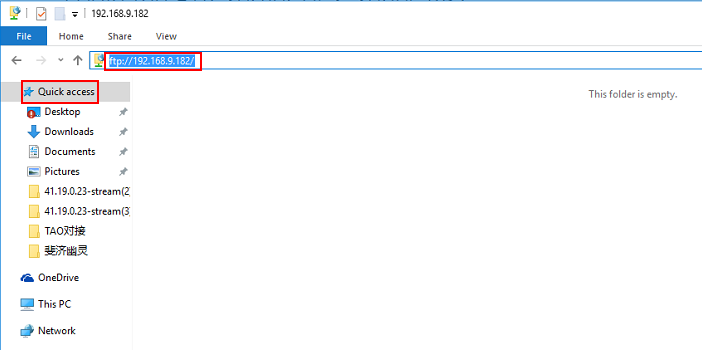
Figure-2
2.2 Login the FTP Server, right-click the "Login-As" and enter the Username/ Password: same as SSH username & password. Refer with this SSH
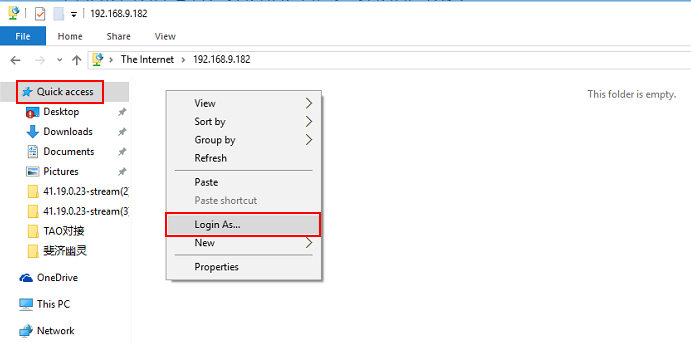
Figure-3
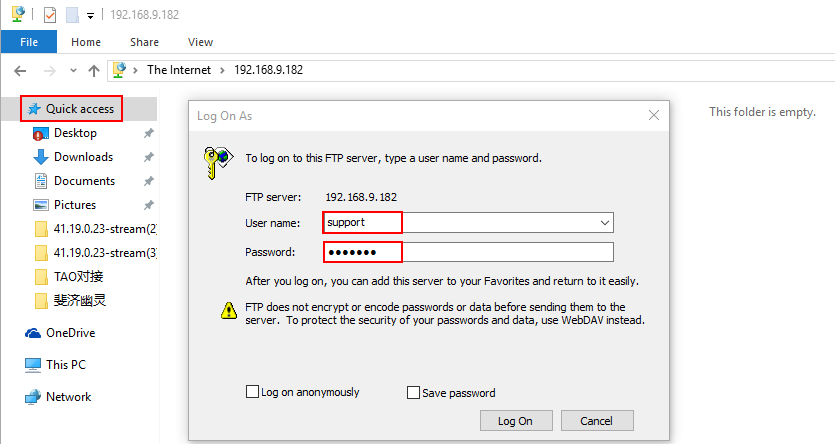
Figure-4
3. Access the files
User can check or transfer the files to the corresponding folders directly.
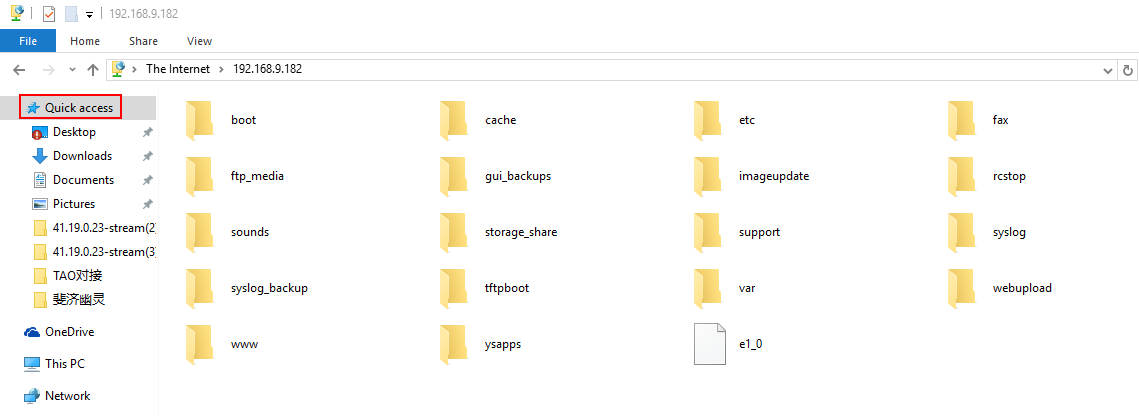
Figure-5

2 Comments